Edit: This post was updated on 4/10/2019 to reflect the recently released Visual Studio 2019 instructions
Introduction
This post is part of a series demonstrating the entire process of creating an ASP.NET Core application. Visual Studio 2019 includes a free version for developers to use. It is a full-featured IDE and includes everything you need to develop software on Windows using the .NET Framework and the .NET Core Framework.
Start by opening a web browser to http://www.visualstudio.com. Once there, you can find the download link in the image below:

Make sure to select Community 2019 if you don’t have a valid license for Professional or Enterprise. Once the download has finished, start the installation process. Eventually, you will be met with a dialog like this:
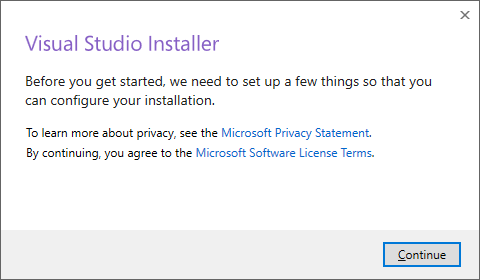
Click the Continue button and you will see the below dialog pop up. This will start the download process to get the initially required files downloaded.

After this process is completed, you will be presented with the following dialog that allows you to control which components of Visual Studio and associated libraries to install.

Now, there are a lot of options in Visual Studio. What we want is unshadowed in the list below. You can install anything you want but make sure to include what I have highlighted. Also, every option you select will increase the amount of time it takes.

Finally, you will see a download dialog. Be patient until the process finishes.
